
Wedding detail photos are styled close-ups and flat-lays of the small objects that define your day: invitations, rings, shoes, jewellery, and the handful of things that mean something only to you two. The single best way to get great ones is simple with professional Photography SEO Services | Be Discovered & Book More Shoots that help showcase your portfolio effectively. Gather a detail box in advance and give your photographer a short, uninterrupted block of time during bridal prep. Everything else below is the checklist that makes that happen.
TL;DR:
- Use a well-organized detail box packed with invitation copies, rings, jewelry, shoes, and heirlooms to ensure your photographer captures meaningful images.
- Schedule detail shots early in the wedding morning, starting with invitations, then rings, followed by shoes and accessories, allocating 20 to 60 minutes for the session.
- Employ consistent surface choices and proper lighting, with macro lenses and stable overhead setups, to produce sharp, texture-rich details in a natural, styled layout.
- Focus on contrasting materials and strategically pair matte with reflective surfaces, using raking light to enhance texture and create impactful photographs.
- Collaborate with your photographer beforehand for a dedicated pre-wedding consultation to plan your detail box and timelines, ensuring quality coverage without rush or oversight.
Table of Contents
- What to pack in your wedding detail box
- How photographers style an editorial flat-lay
- Lighting and kit: what actually produces sharp detail shots
- When to schedule detail shots on the morning
- Building the detail box: a short pre-wedding checklist
- What years of documentary weddings teach you about details
- Getting texture and material to show up properly
- Making room for the objects that actually mean something
- Editing detail shots without losing what made them special
- Mistakes that quietly ruin detail photos
- Why details matter more than couples expect
- How James Grist can help you get this right
- Sources
- FAQ
What to pack in your wedding detail box
Photographers can only shoot what’s in front of them, so the detail box is the one job on your pre-wedding list that directly shapes how your gallery opens. Think of it as a small suitcase of evidence: the objects that prove this was your wedding, not a stock template.
Must-haves worth prioritising:
- Invitation suite, ideally two copies, so your photographer has room to try more than one layout.
- Rings, plus the box or dish they arrived in.
- Jewellery: earrings, necklace, grandmother’s brooch, whatever you’re wearing.
- Shoes, veil, and perfume bottle.
- Vow books or handwritten notes.
- Small signage, order of service, or menu cards.
Nice-to-haves that add polish if you have them to spare:
- Extra loose florals and ribbon offcuts from your florist.
- Postage stamps, wax seals, or calligraphy place tags.
- Heirlooms: a watch, a hair comb, a coin your father carried.
- Fabric swatches from the dress or suit lining.
- A ring cushion or small linen board for texture.
Each item earns its place because it photographs differently. Rings need macro sharpness; fabric needs raking light to show weave; paper goods need a flat, even surface. A quick tip: hand the box over already sorted by type (paper, metal, fabric) rather than in a jumbled heap. It saves your photographer valuable minutes they’d otherwise spend untangling ribbon from a shoe buckle.

How photographers style an editorial flat-lay
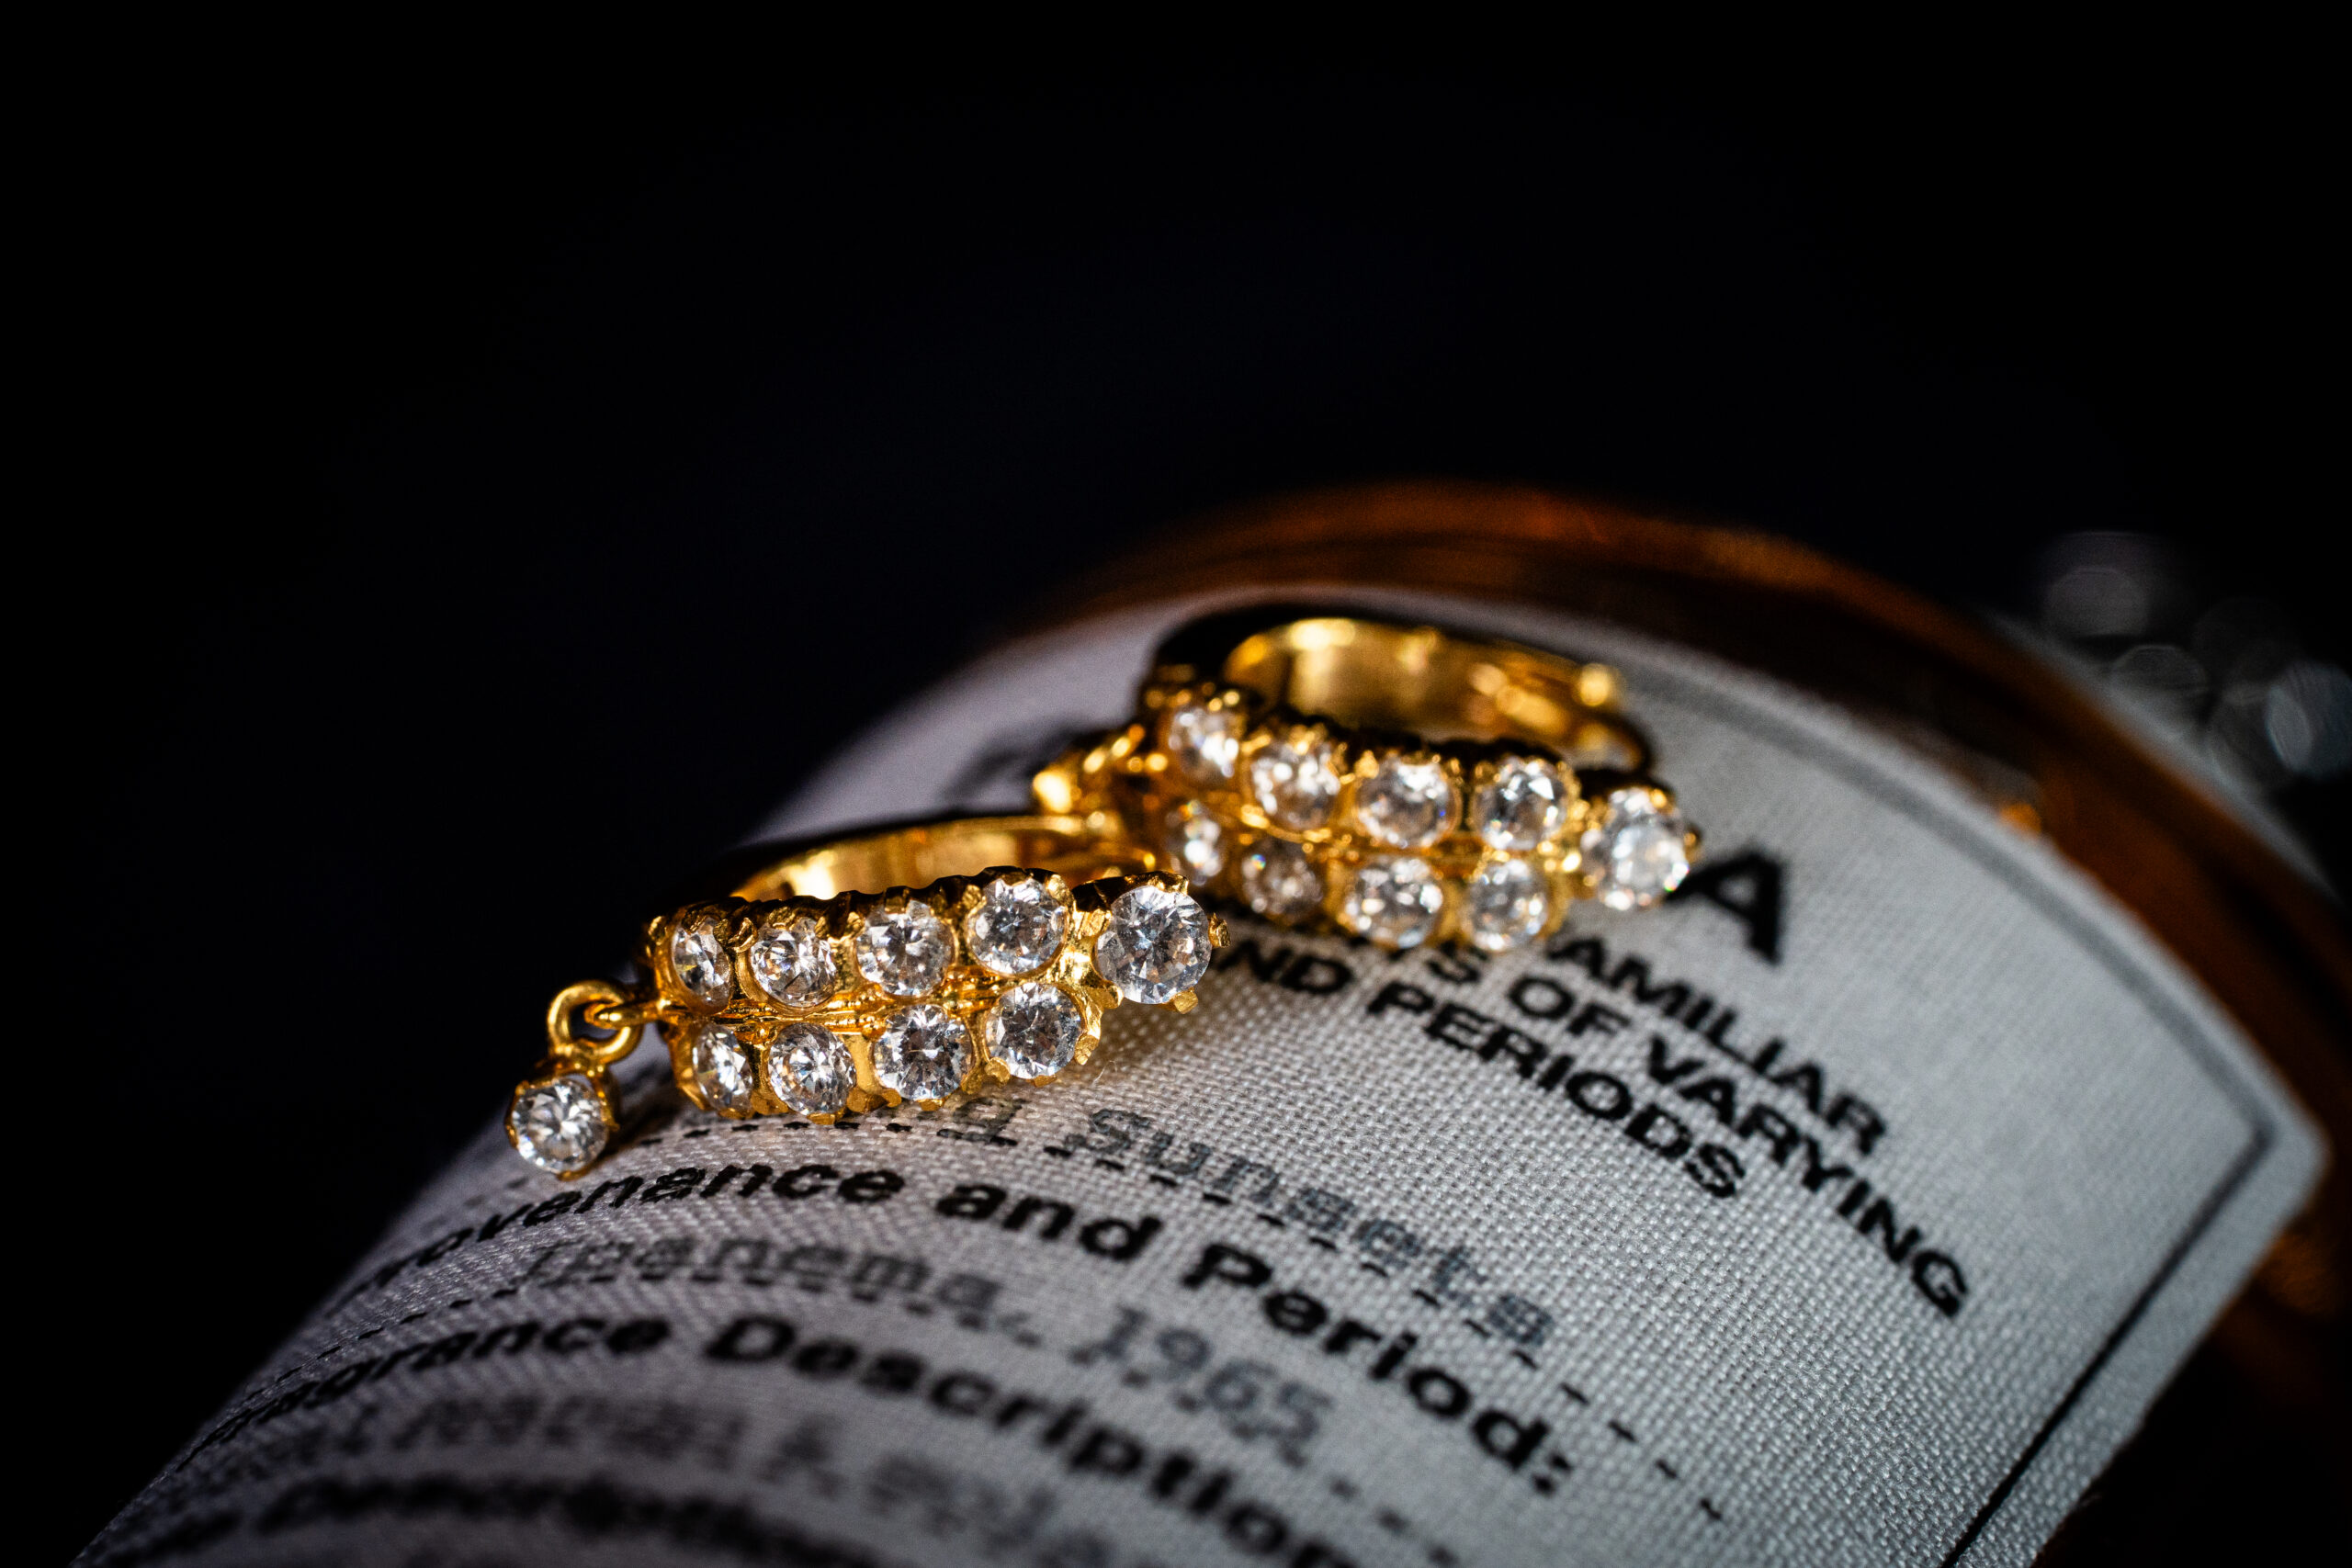
A wedding flat-lay is a deliberately composed overhead arrangement, not a phone snap of your things shoved together on a table. Brides.com describes it as a way of preserving texture and the couple’s aesthetic rather than just documenting objects, and that distinction is what separates a cluttered pile from an image worth framing.
The technique itself follows a handful of repeatable rules:
- Layering builds depth: place larger items (invitation suite, shoes) first, then add mid-sized pieces (rings, jewellery), then finish with small texture details like petals or stamps on top.
- The rule of odds groups objects in threes or fives rather than pairs, because odd numbers read as more natural to the eye than symmetrical clusters.
- Negative space matters as much as the objects themselves. A flat-lay with breathing room around a ring looks intentional; one crammed edge to edge looks rushed.
- Surface choice sets the tone. Marble reads modern and cool, linen reads soft and warm, dark wood reads moody and rich. Match the surface to your colour palette rather than fighting it.
Pro Tip: Keep one surface consistent across the whole detail sequence. Switching between marble, wood, and linen in the same set of images makes the gallery feel disjointed rather than styled.
Composition guides built for this exact shot list back this up, with layering and negative space treated as non-negotiable technical steps rather than optional flourishes.

Lighting and kit: what actually produces sharp detail shots
Soft, diffused window light, ideally north-facing or filtered through a sheer curtain, is what most photographers chase for detail work. It wraps around rings and fabric without throwing harsh shadows across engraving or beadwork. If your getting-ready room only has small windows or harsh midday sun, a small reflector or portable LED panel fixes most of the problem in seconds.
On kit, in plain terms:
- A macro lens is the standard choice for rings and engraving, since it lets the photographer get close without losing sharpness.
- A 50–85mm lens handles the wider flat-lay compositions, keeping proportions natural rather than warped.
- A tripod or overhead arm holds the camera dead level above the flat-lay, which avoids the trapezoid distortion you get from shooting at an angle.
Guides built specifically around this shot list note that north-facing, diffused window light paired with a macro lens for rings is the combination most photographers default to when the room allows it. Fragile heirlooms deserve extra care too: keep rings on a dish rather than loose on a surface, and don’t let anyone try to style a moving veil in a draught.
When to schedule detail shots on the morning
Detail photos work best as their own scheduled block, not squeezed between hair and makeup touch-ups. Practical guides on the wedding morning point to a window of roughly 20 to 60 minutes depending on how many items and frames you want, with the invitation suite shot first, rings next, then shoes and accessories.
That sequence isn’t arbitrary:
- Invitation suite first, while it’s still crisp and hasn’t been handled by ten different people.
- Rings next, so they can go straight back to whoever is holding them safe for the ceremony.
- Shoes and accessories last, since they’re sturdier and can wait.
Coordinate with your planner or florist beforehand so a few loose stems are set aside for this exact purpose. Position your styling board somewhere with steady light, away from the chaos of hairspray and half-eaten pastries.
Building the detail box: a short pre-wedding checklist
A prepared box and a scheduled block create calmer styling and noticeably better images than trying to improvise between hair and dress. Assemble your box two to six weeks before the wedding, then do a final check 48 to 72 hours out.
Send your stationer and florist a short, specific request:
- Two copies of the invitation suite, unfolded and unmarked.
- A handful of loose blooms matching your bouquet, delivered the morning of.
- Any ribbon offcuts or spare wax seals from the invitation run.
Pro Tip: Wrap heirloom jewellery in a soft cloth inside a small pouch, labelled clearly, so nothing gets left in a hotel bathroom at 8am. Assembling a wedding detail box properly means your photographer can start shooting the moment they walk in, rather than spending the first twenty minutes hunting for your other earring.
What years of documentary weddings teach you about details
Detail photos consistently work best when couples hand over a heavier, more personal box than they think is needed. A grandmother’s hair comb, a handwritten note tucked into the invitation suite, a childhood teddy bear on the shoe shelf. These items give a gallery its emotional anchor points long after the day itself blurs. The most common oversight is couples assuming the “big” items (rings, dress) are enough. They rarely are. It’s the small, easily forgotten object, a cufflink from a late father, a fabric scrap from a christening gown, that photographers end up circling back to when building the opening pages of an album.
Getting texture and material to show up properly
Texture is what separates a flat, listless detail shot from one that looks like it belongs in a magazine spread. The trick is contrast: pair something matte against something reflective, something soft against something hard.
A silk ribbon photographs differently against linen than against marble; the linen absorbs light and softens the ribbon’s sheen, while marble throws it back and makes the ribbon almost glow. Raking light, light hitting a surface at a low angle rather than straight on, is what reveals the weave in fabric, the grain in wood, and the engraving inside a ring. Straight-on flash flattens all of that detail into a flat sheet.
A few material pairings worth trying:
- Lace veil laid over dark velvet to make the pattern pop.
- Metal ring dish set against raw linen for warmth.
- Waxed invitation seal photographed close enough to show the imprint, not just the colour.
Don’t overlook scent and sound, either, even though a camera can’t capture them directly. A perfume bottle catching light, a dried flower with visible edges, these hint at sensory detail that makes a still image feel less static. The goal isn’t to photograph every texture in the room; it’s to choose two or three contrasting ones and let them do the work.
Making room for the objects that actually mean something
The items with real emotional weight rarely come from a bridal boutique. Insight from wedding editors backs this up directly: heirloom pieces and personal touches increase both emotional resonance and editorial appeal far more reliably than another styled ring dish.
Think about what’s travelled furthest to be there. A pocket watch passed down three generations. A pressed flower from a first date. A dog tag from a parent’s military service. A recipe card in a grandmother’s handwriting. None of these need to dominate the flat-lay, a small corner of the frame is plenty, but they’re the objects couples point to years later and say “that’s the bit that gets me.”
If you’re struggling to think of anything, ask your parents. They usually know exactly which small object carries weight, even when you’ve forgotten it exists. Slip it into the detail box alongside the rings and invitations, and tell your photographer it’s there and why. A good documentary photographer will find a way to give it its own frame, not just a supporting role in a wider shot.
Editing detail shots without losing what made them special
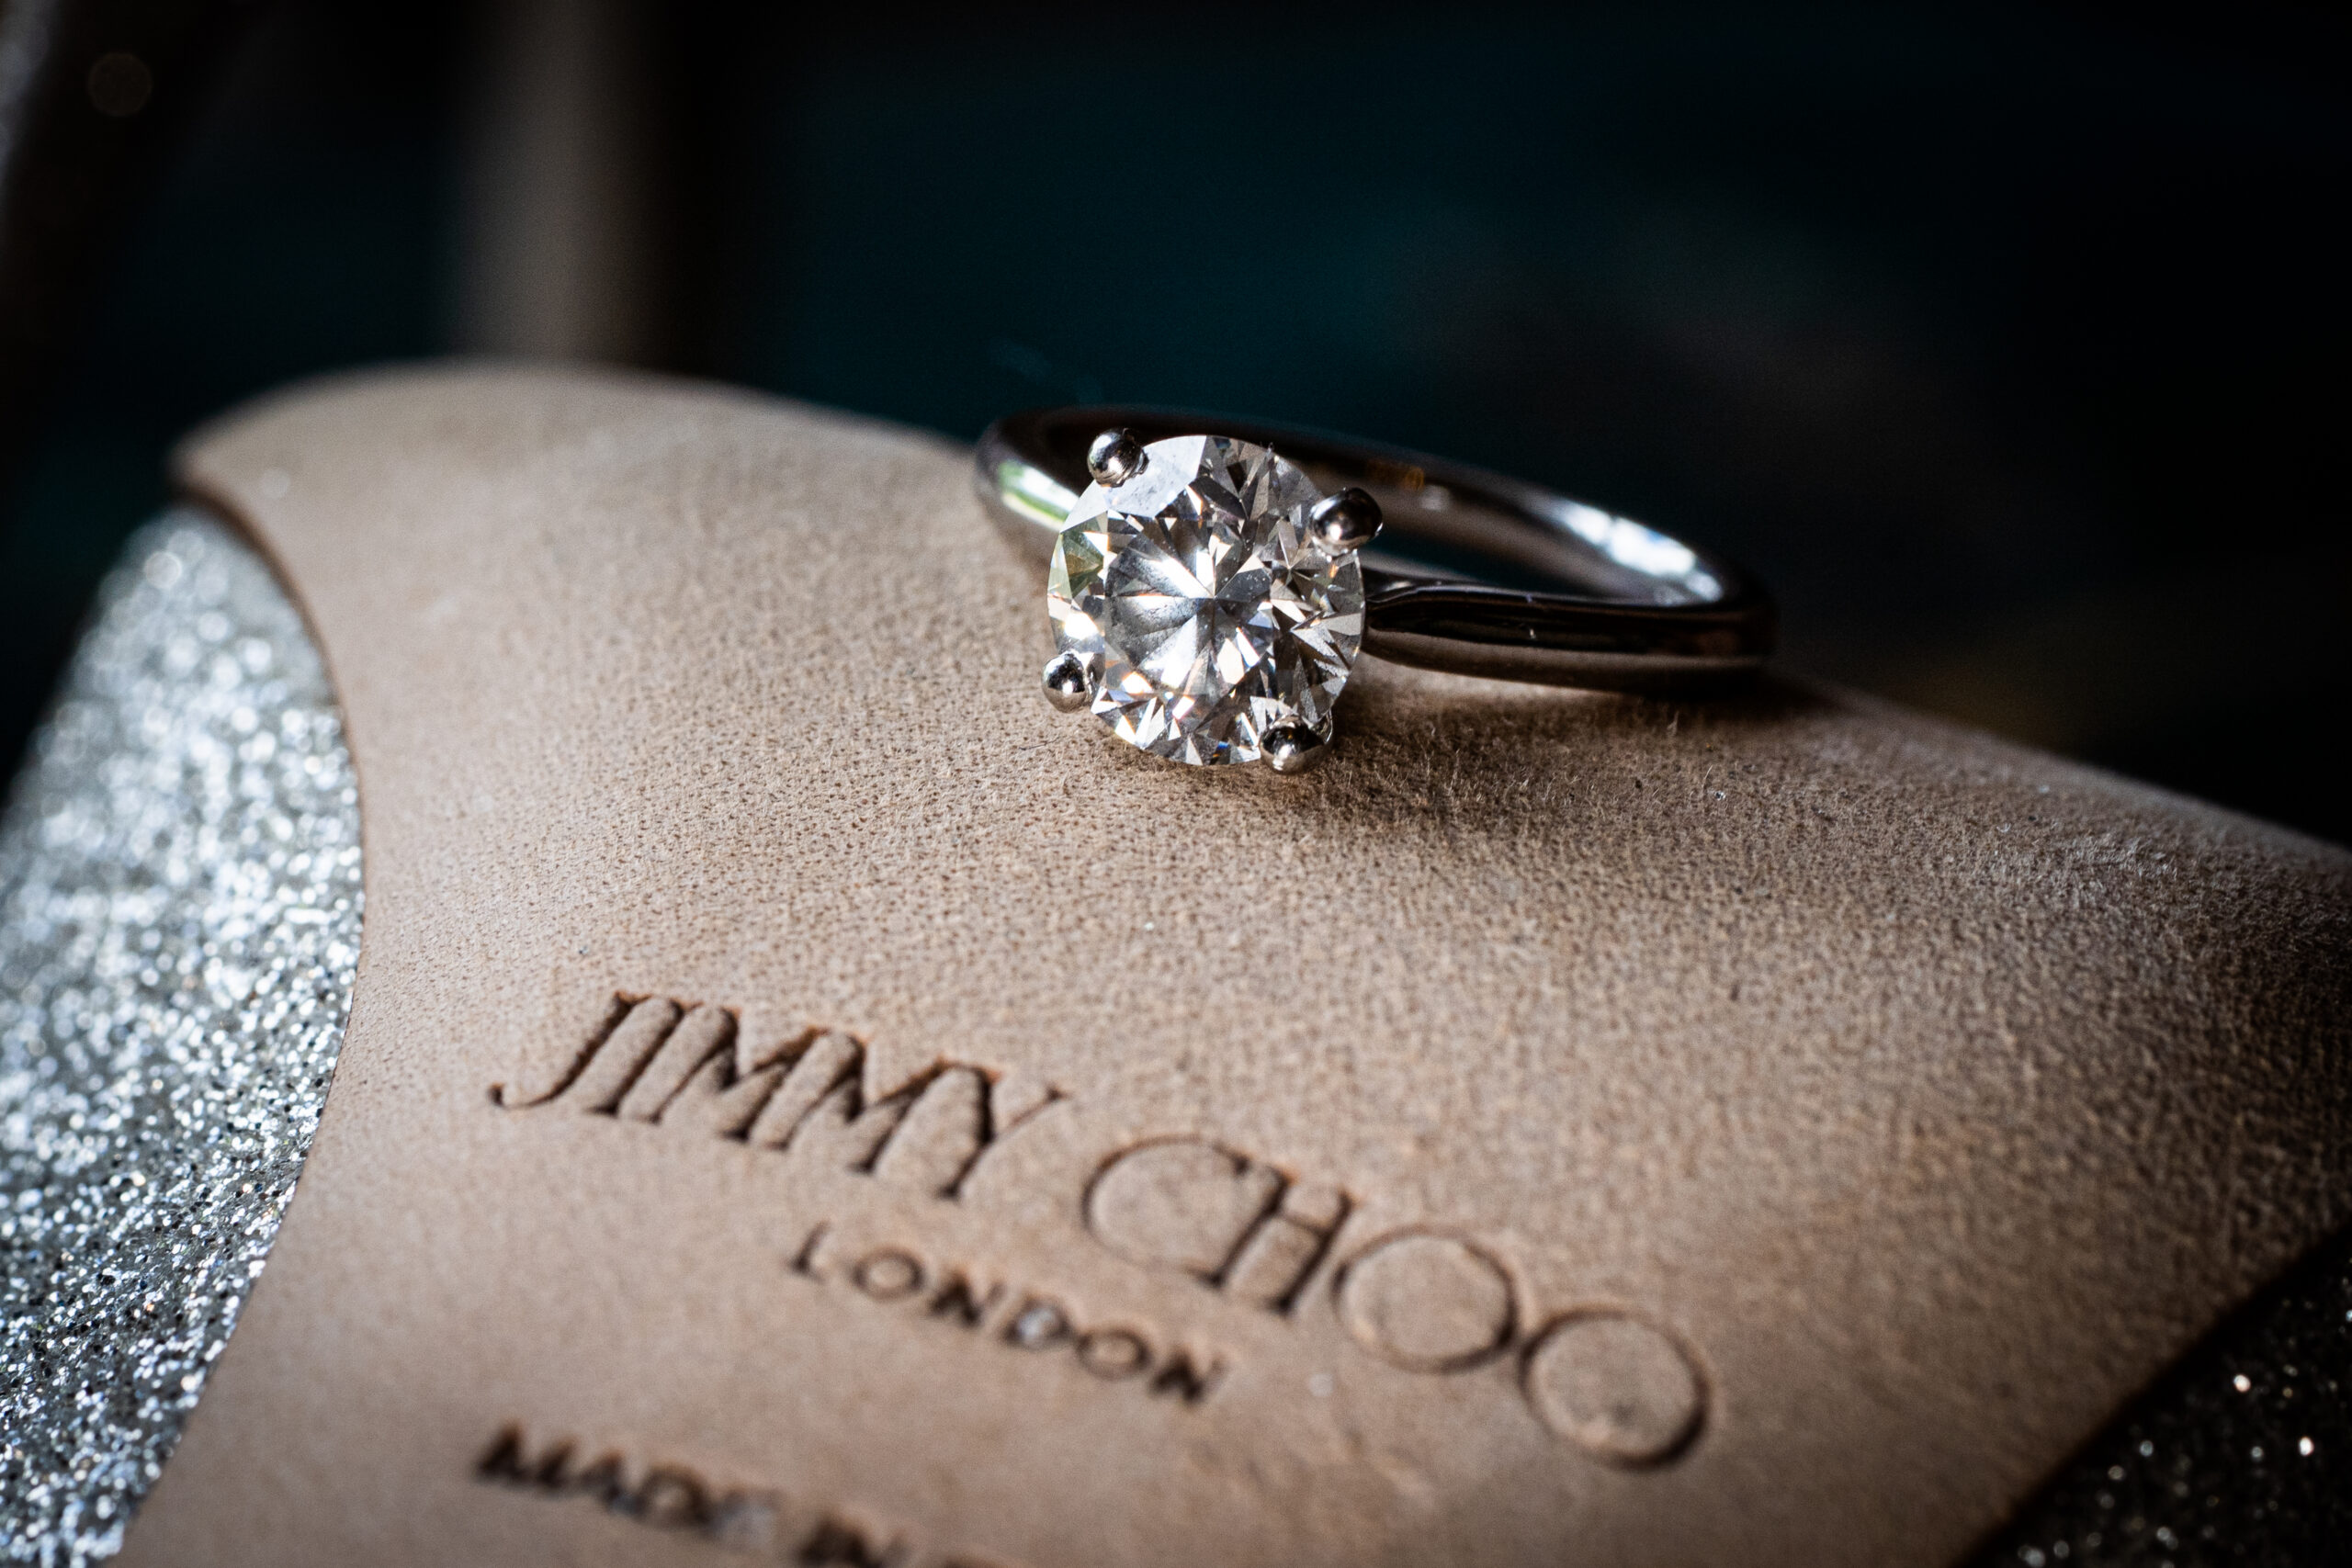
Detail shots need a different editing hand than portraits. Skin tones aren’t the concern here, colour accuracy in fabric, metal, and paper is. A common mistake in post-processing is pushing contrast and saturation too hard, which can turn a soft ivory invitation suite an unnatural yellow or make a rose gold ring look brassy.
A few things worth getting right:
- White balance first. Paper goods and fabric are unforgiving of colour casts; a shot taken under warm bedroom lighting needs correcting before anything else happens.
- Sharpening for texture, not skin. Detail shots can handle more aggressive sharpening than a portrait, since the goal is to show engraving, weave, and grain clearly.
- Selective clarity. Boosting clarity on the ring or invitation while leaving softer background elements alone keeps the eye where it should go.
- Consistent tone across the set. If your gallery has ten detail shots, they should share a colour grade with the rest of the day, not sit as an oddly saturated island in the middle.
Cropping matters too. Detail shots are often the frames couples reuse for save-the-dates, thank-you cards, or framed prints, so leaving a little breathing room around the edge during the shoot gives an editor room to work later without cutting into the ring or the lace.
Mistakes that quietly ruin detail photos
Most detail photo disappointments come from the same handful of avoidable errors, not from bad luck or bad light.
Forgetting to set items aside the night before. Rings end up back on fingers, invitations get packed in a box that leaves with the car, and suddenly there’s nothing left to photograph.
Overcrowding the flat-lay. Piling every ribbon, stamp, and flower onto one surface creates visual noise instead of an editorial composition. Fewer, better-placed objects beat a full table every time.
Shooting on a cluttered or mismatched background. A hotel duvet with a busy print or a nightstand covered in phone chargers ruins even a well-chosen set of objects. A dedicated marble tile or linen board, sized roughly 20 by 24 inches, gives photographers a rigid, portable surface that avoids distortion and keeps the composition clean.
Rushing the sequence. Trying to squeeze detail shots in during the last five minutes before the ceremony leads to shaky styling and missed items. Block proper time and treat it as its own mini-session.
Ignoring fragile items’ safety. Loose rings on an uneven surface roll. Veils near an open window catch a draught. A little care during the shoot avoids a small disaster.
Why details matter more than couples expect
Detail shots aren’t filler between getting-ready photos and the ceremony walk. They’re the album’s opening chapter, the quiet visual proof of everything that went into the day before anyone even got dressed. My advice to every couple: don’t try to “fit them in.” Block twenty minutes, hand over a well-packed box, and let the sequence happen properly.
— James
How James Grist can help you get this right
If reading a full checklist has made the detail box feel like one more job on an already long list, that’s exactly why a dedicated pre-wedding consultation matters. Working with a wedding photographer who plans detail coverage from the start, setting aside time specifically for it as part of a documentary approach to your day, ensures it isn’t an afterthought squeezed into a rushed morning.

Both Package 1 and Package 2 include a pre-wedding consultation where detail box planning gets discussed directly, so nothing is left to guesswork on the morning itself. Package 1 runs at £1,650 and Package 2 at £1,950, both one-off fees, and if you need a second photographer covering both partners getting ready simultaneously, Double Coverage starts from £400. If you’d like to see how detail shots come together across a real wedding day, Adam and Emma’s Salomons Estate wedding is a good example of the approach in practice.
Check current availability and get your dates confirmed on the wedding prices and packages page, or request a sample gallery to see how detail coverage looks in a finished set.
Sources
- What Is a Wedding Flat Lay? Here’s Everything to Know
- Flat Lay Wedding Detail Shots: Complete Guide | ShutterReview
- Wedding detail photos—how to prepare flat lay details
- Wedding Flat?Lay Styling Guide (Invites, Rings, Shoes 2026) – Tov Studio Photo
FAQ
What should be included in wedding detail photos?
Prioritise the invitation suite, rings, jewellery, shoes, and veil, then add nice-to-haves like heirlooms, extra florals, and fabric swatches if you have them. A well-packed detail box covers both categories so your photographer isn’t hunting for objects on the morning.
What is the 30-minute rule for weddings?
Most photographers block somewhere between 20 and 60 minutes for detail shots depending on the number of items and frames needed, based on typical sequencing guidance used across wedding mornings. Treating it as its own scheduled block, rather than a gap between other tasks, is what actually matters.
What are the most important photos at a wedding?
Detail shots, getting-ready candids, the ceremony, and the reception all matter, but detail photos specifically act as essential visual storytelling tools that fill emotional gaps a portrait alone can’t capture. They’re usually the frames that open a finished album.
What are the trends in wedding photography for 2026?
Editorial flat-lays with deliberate negative space and layered texture continue to be favoured by wedding publishers, alongside a shift towards fewer, more meaningful objects rather than dense prop-filled compositions, as outlined in current styling guidance for flat-lays. Personal and heirloom items are increasingly treated as the centrepiece rather than an optional extra.
Does James Grist offer help planning detail shots before the wedding?
Yes. Both photography packages include a pre-wedding consultation where detail box planning and timeline coordination are discussed directly, with full pricing listed on the 2026 wedding prices and packages page.